Foundations of Home Pottery
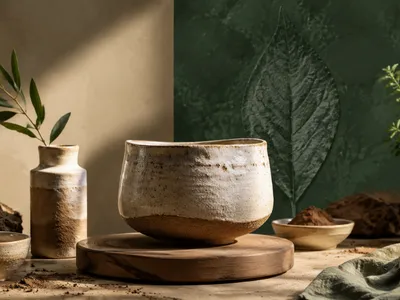
Pottery as a domestic hobby intersects with material culture studies, where the physical engagement with clay fosters a unique mind-body connection. This practice transcends mere craft, offering a tangible link to human history and artistic expression.
Selecting the appropriate clay body is a critical first decision, as its composition—whether earthenware, stoneware, or porcelain—determines the object's final characteristics and required firing temperature. Each type presents distinct working properties and aesthetic outcomes.
The home studio environment must prioritize safety and workflow efficiency. Adequate ventilation is non-negotiable for managing clay dust, which poses a silicosis risk, and for dispersing fumes from glazes or kiln operations. Simultaneously, the spatial organization should follow the logical sequence of the ceramic process: from clay storage and wedging to forming, drying, glazing, and firing. This intentional design minimizes contamination and maximizes creative focus.
Essential Tools and Materials for Your First Home Studio
Equipping a home ceramics studio requires a strategic selection of fundamental tools that correspond to core forming processes. The following table categorizes essential items by their primary function in the workflow.
| Tool Category | Essential Items | Primary Purpose |
|---|---|---|
| Surface Preparation | Canvas-covered board, ware boards, plaster bat | Provides a non-stick, absorbent surface for wedging and drying clay evenly. |
| Forming Tools | Wooden ribs, metal ribs, flexible metal scraper, needle tool, cut-off wire | Shapes, refines, cuts, and textures clay during hand-building or wheel-throwing. |
| Finishing Tools | Potter's ribs (wood/metal), sponge, chamois, loop tools, trimming tools | Smooths surfaces, compacts edges, removes excess clay, and adds fine details. |
The kiln represents the single most significant investment for a home potter, and its selection hinges on understanding firing dynamics. Electric kilns offer unparalleled control and consistency for oxidation firing, making them ideal for beginners and detailed glaze work. In contrast, gas or wood-fired kilns introduce reduction atmospheres that create unique surface effects but demand greater space, ventilation, and technical expertise. Regardless of type, a properly sized kiln must match the studio's output goals and available electrical or gas infrastructure. A modern digital controller is highly recommended for reproducible results and safety.
Beyond the kiln, a dedicated clay storage and recycling system is crucial for material economy and preventing waste. Properly maintained slurry and reclaim bins allow for the continual reuse of scrap clay.
Establishing rigorous safety protocols from the outset mitigates long-term health risks associated with ceramic materials. The following checklist outlines non-negotiable practices.
- Respiratory Protection: Always use an NIOSH-approved N95 mask or better when handling dry clay, mixing glazes, or during kiln venting.
- Ventilation: Ensure cross-ventilation in the studio and use local exhaust for kilns and glaze mixing areas.
- Material Awareness: Clearly label all materials, especially toxic glaze components like barium carbonate or metal oxides, and store them securely.
- Dust Control: Implement wet-cleaning methods; never dry-sweep clay dust to avoid airborne particulates.
- Kiln Safety: Place the kiln on a non-combustible surface, away from walls, and never leave it unattended during firing.
What Are the Core Techniques for Beginner Hand-Building?
Hand-building represents the most accessible entry point into ceramics, relying on direct manual manipulation of clay to create form. This approach emphsizes an intimate understanding of the material's plasticity and limits, fostering a foundational skill set applicable to all ceramic work.
The pinch method is the most elemental technique, where a ball of clay is gently opened and shaped by the pressure between thumb and fingers. This process encourages an even wall thickness and develops a tactile sensitivity to the clay's state, from wet to leather-hard.
Coil construction offers greater structural possibilities, involving the layering and joining of rolled clay ropes. The key to success lies in meticulously scoring and slipping each coil connection to ensure integrity during drying and firing, preventing cracks at the seams.
| Technique | Process Description | Typical Applications |
|---|---|---|
| Pinch Pots | Forming a hollow shape from a solid ball by pinching the walls outward. | Small bowls, cups, sculptural bases. |
| Coil Building | Stacking and blending ropes of clay to build vertical or volumetric forms. | Vases, pots, figurative sculpture. |
| Slab Construction | Assembling forms from flat, rolled-out sheets of clay cut into shapes. | Tiles, boxes, geometric vessels, architectural forms. |
Slab building introduces geometric precision, utilizing clay rolled to a uniform thickness. Joining these flat planes requires careful beveling of edges and the use of soft slurry to create strong, invisible seams. Mastery of these three core methods provides a comprehensive toolkit for constructing virtually any form without a wheel.
Understanding the leather-hard stage is critical for refining hand-built pieces. At this specific moisture level, clay is firm yet carveable, allowing for smoothing, attachment of handles, and intricate surface detailing without deforming the overall structure. Successful joining at this stage is a hallmark of skilled construction.
Navigating the Firing and Glazing Process
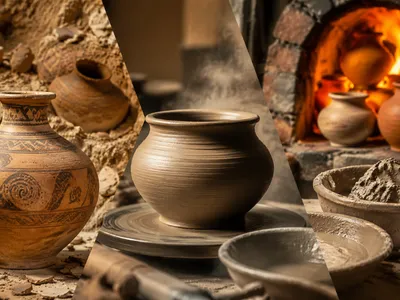
Firing is the irreversible thermochemical transformation that converts fragile, water-based clay into a durable, permanent ceramic material. The initial bisque firing slowly heats the bone-dry ware to a temperature between 1700°F and 2000°F, driving off all physical and chemically bonded water and carbonaceous matter.
This crucial first fire must be conducted slowly, especially through the critical quartz inversion point around 1063°F, to prevent explosive steam pressure from destroying the work. The resulting bisqueware is porous and ideal for accepting glaze applications.
Glaze chemistry is a complex field, but beginners must understand its basic function: to melt into a glassy coating upon refiring. A glaze recipe is a mixture of three core components: glass-formers (like silica), fluxes (which lower the melting temperature), and stabilizers (like alumina, which provides viscosity and structure).
| Firing Stage | Temperature Range | Key Physical/Chemical Events |
|---|---|---|
| Water Smoking (Bisque) | Up to 1200°F | Evaporation of residual water; combustion of organic materials. |
| Quartz Inversion | ~1063°F | Silica crystals change structure, causing sudden volume change. |
| Vitrification (Glaze Fire) | Cone 04 - Cone 10 | Clay and glaze materials melt and fuse; permanent sintering occurs. |
Application methods significantly influence the final aesthetic. Dipping provides a uniform coat, while pouring, brushing, and spraying offer more controlled, layered effects. Each method requires the bisqueware to be clean and free of dust to ensure proper glaze adhesion. Testing glaze combinations on small tiles is an essential practice to predict final color and surface texture, as chemical interactions between layers can be unpredictable.
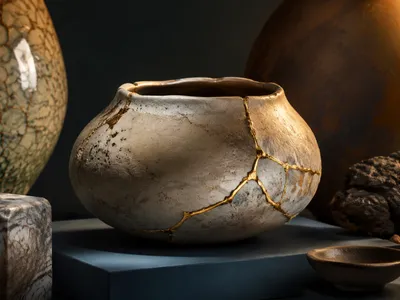
The final glaze or maturation firing heats the coated bisqueware to a higher temperature, causing the glaze particles to melt and fuse to the clay body. Successful glazing depends on managing the complex variables of application thickness, firing schedule, and kiln atmosphere. A single firing error can undermine weeks of careful forming work, making this phase both technically demanding and profoundly consequential.
Cultivating Creativity and Sustainable Practice
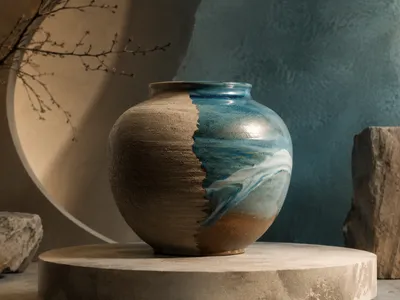
Moving beyond technical proficiency, a mature pottery practice integrates intentional creativity with ecological responsibility. This involves curating influences mindfully and establishing a personal aesthetic language through iterative making and critical reflection.
The home studio must also confront its environmental footprint. Sustainable practice begins with a systematic approach to clay and glaze waste, water usage, and energy consumption during firing cycles.
Material conservation is achieved through a closed-loop reclaim system where all trimmings, failed pieces, and slurry are collected, thoroughly dried, and reconstituted into usable clay. This not only reduces landfill waste but also lowers material costs significantly. Glaze waste can be minimized by mmixing precise quantities and employing efficient application techniques, while process water should be settled to separate out solid particles before disposal.
The energy-intensive nature of kiln firing presents a major sustainability challenge. Strategic planning is key: bisque firing loads to maximum capacity, stacking wares efficiently, and scheduling firings to utilize off-peak energy hours where possible. Understanding the thermal mass of your kiln and its elements can lead to optimized firing schedules that reduce electricity or gas use without compromising results.
The most sustainable object is one that is well-crafted, aesthetically enduring, and fulfills a functional or artistic need for generations. Therefore, the pursuit of technical mastery directly serves sustainability by reducing the failure rate and producing heirloom-quality work. This long-term perspective fosters a deeper connection to the material, encouraging thoughtful design over mass production and positioning the home potter within a responsible maker culture that values resource stewardship as a core component of the creative act. The hobby evolves from a solitary pastime into a conscientious engagement with material culture.